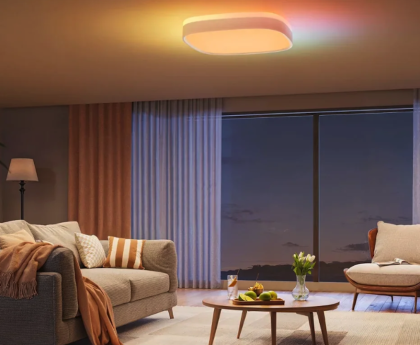
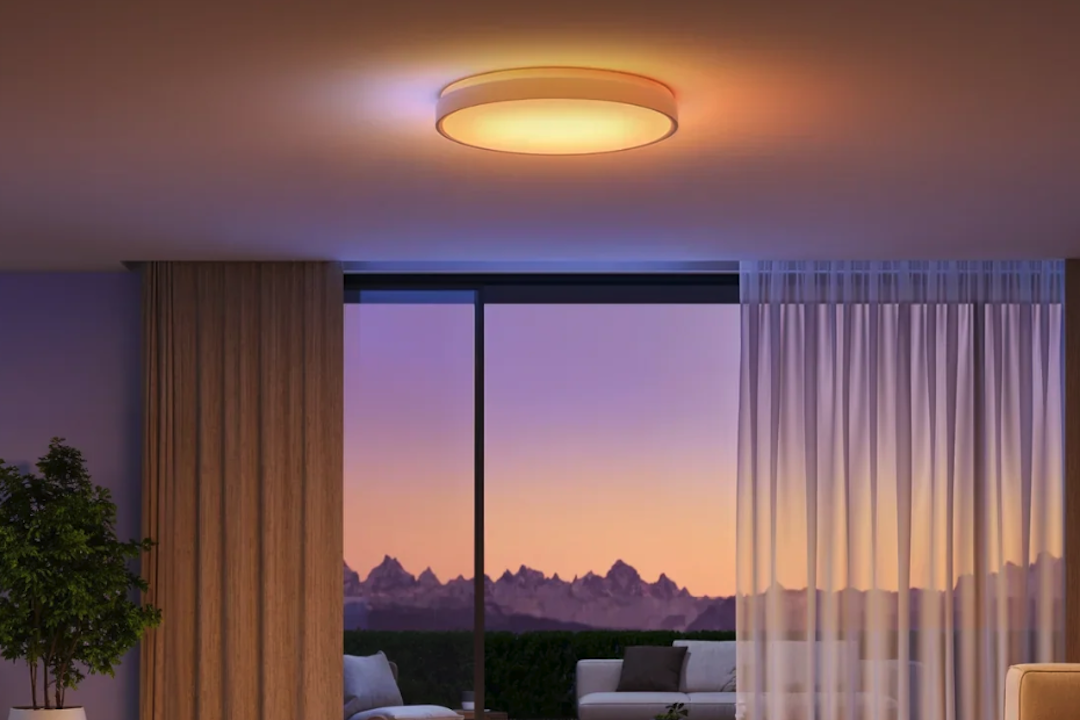

Finding the right smart ceiling light size and wattage for your home lighting isn’t as complicated as it might seem. The sweet spot generally involves considering the room’s dimensions, its purpose, and the desired brightness, expressed in lumens rather than just wattage. For most standard rooms, you’re looking at a range of 1000-2000 lumens, with wattage fluctuating significantly based on the light’s efficiency. Let’s break down how to get it just right without overdoing it or leaving you in the dark.
Understanding Lumens: Beyond Just Watts
When we talk about light Yilop, especially modern smart lighting, lumens are your new best friend, not watts. For decades, we’ve associated wattage with brightness: a 60-watt bulb was brighter than a 40-watt bulb. This was true for incandescent bulbs because they produced light by heating a filament, and more heat (more watts) meant more light.
However, modern LED and smart lights are incredibly efficient. They use far fewer watts to produce the same amount of light, and sometimes even more. This is why you might see an LED bulb listed as “10-watt equivalent to 60-watt incandescent.” The 10 watts is its actual power consumption, while the “60-watt equivalent” tells you its lumen output is similar to an old 60-watt bulb.
So, when planning your smart lighting, shift your focus to lumens. Lumens measure the total amount of visible light produced by a source. The higher the lumen count, the brighter the light. Smart lights often let you adjust brightness, but knowing the maximum lumen output helps you determine if a single fixture or a combination will adequately illuminate your space.
Lumen Requirements by Room Type
Different rooms have different lighting needs. A kitchen generally requires more light for task illumination than a cozy bedroom. Here’s a general guideline for minimum lumen recommendations:
- Living Room: 1,500 – 3,000 lumens. This range allows for flexibility, often requiring a combination of ambient lighting (from your ceiling fixture) and accent/task lighting (lamps).
- Kitchen: 3,000 – 5,000 lumens. Task-oriented spaces like kitchens need ample light, especially over countertops and cooking areas. You’ll likely use a primary ceiling light combined with under-cabinet lighting.
- Bedroom: 1,000 – 2,000 lumens. Bedrooms benefit from softer, adjustable lighting. A single ceiling fixture might suffice, supplemented by bedside lamps.
- Bathroom: 2,000 – 4,000 lumens. Good lighting is crucial for grooming. Consider a combination of an overhead light and vanity lights around the mirror.
- Dining Room: 1,500 – 3,000 lumens. Often featuring a dimmer, dining room lighting needs to be adaptable for intimate dinners or brighter gatherings.
- Home Office: 2,000 – 4,000 lumens. Task lighting is key here to prevent eye strain. A good overhead light paired with a desk lamp is ideal.
- Hallways/Entryways: 800 – 1,200 lumens. These spaces primarily need enough light for safe passage and welcoming ambiance.
- Utility Room/Laundry Room: 1,500 – 3,000 lumens. Practical spaces need good, clear light for tasks like sorting clothes or minor repairs.
Remember, these are starting points. Personal preference, wall colors (darker walls absorb more light), and ceiling height also play a role. Smart lights with adjustable brightness make it easier to fine-tune the output once installed.
Sizing Your Smart Ceiling Light
The physical size of your smart ceiling light fixture is just as important as its light output. A fixture that’s too small can look lost in a large room, failing to provide adequate ambient light, while one that’s too large can overwhelm a small space, making it feel cramped. It’s about achieving visual balance and effective light distribution.
Calculating Fixture Diameter for General Lighting
A common rule of thumb for determining an appropriate fixture diameter for general overhead lighting is to add the length and width of the room in feet, then use that sum as the ideal diameter in inches.
For example:
- A room that is 10 feet wide by 12 feet long: 10 + 12 = 22. So, a fixture with a diameter of approximately 22 inches would be a good starting point.
- A room that is 15 feet wide by 20 feet long: 15 + 20 = 35. A fixture around 35 inches in diameter would be suitable.
This rule primarily applies to flush-mount or semi-flush mount fixtures and larger pendants that serve as the main source of ambient light. For smaller accent lights or track lighting, different considerations apply.
Ceiling Height and Fixture Type
Ceiling height significantly impacts your fixture choices:
- Standard Ceilings (8-9 feet): Flush-mount and semi-flush mount fixtures are excellent choices. They provide ambient light without hanging too low, avoiding head bumps and maintaining an open feel. Pendants can work over tables or islands but should be carefully measured.
- High Ceilings (10+ feet): High ceilings offer more flexibility. Larger, more dramatic chandeliers or long pendant lights can be used without overpowering the space. You can also consider fixtures that direct light upwards (uplighting) to emphasize the height. Downrods for pendant lights will need to be longer to bring the light source closer to eye level or task areas.
- Sloped or Vaulted Ceilings: Special adapters or sloped ceiling mounts are often required for pendant lights and chandeliers to hang straight. Flush-mounts might not sit perfectly flat, so careful selection is key.
Positioning and Multiple Fixtures
Sometimes, one fixture isn’t enough, especially in larger or unusually shaped rooms.
- Even Light Distribution: In long, narrow spaces like hallways or large rectangular living rooms, two or more smaller fixtures spaced evenly will provide better light distribution than one large central fixture.
- Layered Lighting: Remember the concept of layered lighting. Your main ceiling light provides ambient light. You then add task lighting (e.g., under-cabinet lights in a kitchen, a desk lamp in an office) and accent lighting (e.g., wall sconces, picture lights) to create depth and meet specific needs. The size of your main ceiling fixture should be chosen in conjunction with these other light sources.
- Over Tables (Dining, Kitchen Islands): For fixtures over dining tables or kitchen islands, a good rule of thumb is that the fixture’s width or diameter should be about two-thirds to three-quarters the width of the table or island. This ensures it looks proportionate and provides adequate light without being so wide that people hit their heads or block views. The bottom of the fixture should typically be 30-36 inches above the tabletop.
Smart Features and Their Impact on Selection
Smart ceiling lights offer a world of functionality beyond just basic illumination. These features don’t directly change the sizing or wattage rules, but they absolutely influence how you use and perceive the light, making your initial selection even more critical.
Tunable White Light
One of the most popular smart lighting features is tunable white light. This allows you to adjust the color temperature of your light, typically measured in Kelvin (K).
- Warm White (2700K-3000K): Mimics traditional incandescent bulbs, creating a cozy, inviting atmosphere often preferred in living rooms and bedrooms.
- Neutral White (3500K-4500K): A balanced light, good for kitchens, bathrooms, and home offices where clarity and focus are desired.
- Cool White/Daylight (5000K-6500K): Bright, invigorating light, excellent for task-intensive areas or for replicating natural daylight, which can boost alertness.
The ability to switch between these temperatures means you can have a single fixture serve multiple purposes. For instance, a kitchen light can be bright and cool for cooking and then softened to a warmer tone for dining. This flexibility might mean you can rely more on a single, well-chosen smart ceiling fixture rather than needing multiple different light sources for varying moods, although layered lighting still offers the best results.
Full RGB Color Spectrum
Some smart ceiling lights offer full RGB (Red, Green, Blue) color capabilities, allowing you to choose from millions of colors. While perhaps not essential for everyday ambient lighting, colored light can:
- Set Moods: Create festive atmospheres for parties, relaxing tones for unwinding, or even dynamic light shows.
- Accentuate Features: Highlight architectural elements or artwork.
- Support Circadian Rhythms: Some advanced systems can mimic natural daylight cycles, shifting from warm morning light to cool daytime light and back to warm evening tones to help regulate sleep patterns.
If you plan to use color frequently, ensure the fixture’s design allows the color to spread effectively without looking patchy or dim.
Dimmability and Brightness Control
Virtually all smart ceiling lights are dimmable, which is a significant advantage over traditional fixtures. Instead of just “on” or “off,” you can precisely control the brightness (lumen output) from 1% to 100%.
- Energy Savings: Dimming lights uses less electricity, extending the life of the LEDs and saving money.
- Versatility: A single high-lumen fixture can be bright for tasks and then dimmed for relaxation or ambiance. This means you can often opt for a fixture with a higher maximum lumen output than you might always need, knowing you can dial it back when desired.
- Scene Creation: Smart home systems allow you to save “scenes” – predefined combinations of brightness, color temperature, and color for different activities (e.g., “Movie Night,” “Dinner Party,” “Reading”).
When selecting, consider the minimum dimming level. Some cheaper smart lights might not dim smoothly or go very low, which can be frustrating.
Integration with Smart Home Ecosystems
The “smart” in smart ceiling light comes from its ability to integrate with your existing smart home ecosystem (e.g., Amazon Alexa, Google Assistant, Apple HomeKit, Samsung SmartThings, Philips Hue, WiZ).
- Voice Control: Turn lights on/off, dim, or change color with simple voice commands.
- App Control: Manage lights from your smartphone or tablet, even when you’re not home.
- Automation and Schedules: Set lights to turn on/off at specific times, mimic occupancy when you’re away, or integrate with other smart devices (e.g., lights turn on when a motion sensor is triggered).
- Remote Access: Control your lights from anywhere with an internet connection.
Before purchasing, ensure the smart ceiling light is compatible with your preferred smart home platform. Some lights require a dedicated hub, while others connect directly to your Wi-Fi network. Hub-based systems often offer more advanced features and greater reliability for larger setups.
Motion and Occupancy Sensors
Some smart ceiling lights have built-in motion or occupancy sensors.
- Convenience: Lights turn on automatically when you enter a room and off when you leave. Ideal for bathrooms, pantries, laundry rooms, or hallways.
- Energy Efficiency: Prevents lights from being left on unnecessarily.
While convenient, consider the sensor’s range and sensitivity. You don’t want lights turning on every time a pet walks by or failing to detect you when you’re sitting still.
Music Synchronization
A more niche feature, some smart lights can synchronize with music, pulsing and changing color in time with the beat. This is primarily for entertainment spaces or creating party atmospheres.
By carefully considering these smart features, you can select a ceiling light that not only fits your size and wattage requirements but also enhances your living experience through its advanced capabilities.
Determining Actual Wattage for Smart LEDs
As established, lumens are the measure of brightness. Wattage, for modern LED smart lights, simply indicates how much electricity they consume to produce those lumens. The efficiency of LED technology means you get a lot of light for very little power.
Watts per Lumen (Efficacy)
The relationship between lumens and watts is called efficacy, usually measured in lumens per watt (lm/W). A higher lm/W number means a more efficient light.
- Incandescent: Around 10-17 lm/W
- Halogen: Around 15-25 lm/W
- CFL: Around 40-70 lm/W
- LED: Typically 80-120 lm/W (and improving)
This dramatic difference is why an LED bulb can be 10 watts but equivalent to a 60-watt incandescent (which produces about 800 lumens). The 10-watt LED produces 800 lumens, while the 60-watt incandescent also produces 800 lumens.
Why Actual Wattage Still Matters (But Less So)
While lumens are primary, the actual wattage of a smart LED fixture still has a few implications:
- Energy Consumption: Lower wattage means lower electricity bills. This is a significant long-term benefit of switching to smart LED lighting.
- Circuit Load: For very large installations or rooms with many lights on a single circuit, keeping an eye on total wattage is good practice, though modern LEDs typically consume so little that it’s rarely an issue. For example, a standard 15-amp circuit can handle about 1800 watts. You could have well over 100 typical smart LED ceiling lights (e.g., 15W each) on one circuit before hitting that limit.
- Heat Output: While LEDs produce significantly less heat than incandescent bulbs, they still generate some. High-wattage LED fixtures will produce more heat, which needs to be dissipated through proper design to ensure longevity.
Calculating Needed Wattage (Indirectly)
Instead of calculating wattage directly, you reverse the process:
- Determine Lumens Needed: Based on your room type and size (as discussed in Section 1).
- Find Fixtures with that Lumen Output: Look at the product specifications for smart ceiling lights. They will clearly state the maximum lumen output.
- Check the Actual Wattage: The product specs will also list the actual wattage consumed at maximum brightness.
For example, if you need 2,000 lumens for a bedroom:
- You might find a smart LED ceiling light that produces 2,000 lumens while consuming only 20 watts.
- Another fixture might produce 2,000 lumens but consume 25 watts (meaning it’s slightly less efficient).
Both fixtures meet your brightness need, but the 20-watt option is more energy-efficient.
Wattage Equivalence for Quick Reference
While focusing on lumens is best, these common equivalencies can help if you’re mentally transitioning from old bulb types:
- 40W Incandescent ≈ 450 lumens ≈ 4-6W LED
- 60W Incandescent ≈ 800 lumens ≈ 8-12W LED
- 75W Incandescent ≈ 1100 lumens ≈ 12-15W LED
- 100W Incandescent ≈ 1600 lumens ≈ 15-20W LED
For a smart ceiling fixture, the entire unit is designed to produce a certain lumen output for its specific wattage. You don’t usually swap individual “bulbs” in these integrated fixtures.
Practical Considerations and Installation Tips
Beyond the numbers, there are several practical aspects to consider when selecting and installing your smart ceiling light. These often involve planning for the future and ensuring a smooth integration into your home.
Dimmer Switches and Compatibility
Even if your smart light is dimmable via its app or voice control, you might still have a physical dimmer switch on the wall.
- Smart Dimmer Switches: These are designed to work with smart lighting. They often connect to your smart home hub and can control the smart features of the light (dimming, color change) directly, or simply serve as a physical on/off switch for the smart light, leaving the dimming to the app.
- Standard Dimmer Switches (Old Incandescent Type): Never connect a smart LED light to an old-style dimmer switch designed for incandescent bulbs, unless the smart light specifically states it’s compatible with traditional dimmers (which is rare for true “smart” fixtures). Doing so can lead to flickering, buzzing, shortened LED lifespan, and even damage to the light or dimmer.
- Non-Dimmable Switches: Most smart lights will work perfectly fine with a standard on/off switch. This switch will simply cut power to the smart light. When power is restored, the smart light typically returns to its last setting or a default “on” state.
For optimal functionality and to fully leverage smart features, it’s often best to replace any existing dimmers with a standard on/off switch, or a smart switch that’s specifically designed to work with smart bulbs/fixtures, acting more as a scene controller.
Aesthetics and Design Integration
A smart ceiling light is still a light fixture, and its visual appearance matters.
- Room Style: Choose a fixture that complements your room’s decor, whether it’s modern, traditional, minimalist, or industrial. The “smart” aspects are internal; the external design is just as important as any non-smart fixture.
- Fixture Type: Consider whether a flush mount, semi-flush mount, pendant, or chandelier is appropriate for the space and ceiling height.
- Materials and Finish: Pay attention to the materials (metal, glass, acrylic) and finishes (brushed nickel, matte black, white) to ensure they blend seamlessly with other fixtures and hardware in the room.
- Size and Proportion: Revisit the sizing guidelines from earlier. An aesthetically pleasing fixture is also one that is proportionate to the room.
Installation Process
While many smart ceiling lights install like traditional fixtures, there are a few considerations:
- Wiring: Always ensure the power is off at the circuit breaker before beginning any electrical work. If you’re uncomfortable with wiring, hire a qualified electrician. Most smart ceiling lights will have standard two-wire (hot/neutral) plus ground connections.
- Mounting: Check the fixture’s weight and ensure your electrical box and ceiling structure can support it. Larger fixtures might require additional support.
- Network Connection: After installation, you’ll need to connect the smart light to your home’s Wi-Fi network or smart hub. Follow the manufacturer’s instructions carefully. This usually involves downloading an app, creating an account, and pairing the light.
- Firmware Updates: Like other smart devices, smart lights often receive firmware updates to improve performance, add features, or fix bugs. Keep your devices updated for the best experience.
Longevity and Maintenance
LED smart lights are known for their long lifespan, often rated for 25,000 to 50,000 hours.
- Integrated LEDs: Most smart ceiling lights use integrated LED arrays, meaning you can’t just swap out a “bulb.” When the LEDs eventually fail, the entire fixture needs to be replaced. Choose reputable brands known for quality and good warranties.
- Dust and Cleaning: Over time, dust can accumulate on and within fixtures, reducing light output and potentially affecting performance. Clean the fixture periodically with a soft, dry cloth. Avoid harsh chemicals.
- Heat Management: Good heat management is crucial for LED longevity. Ensure the fixture is installed in a way that allows for proper airflow if the design requires it.
By keeping these practical points in mind, you can make a well-informed decision that ensures your smart ceiling light not only meets your lighting needs but also functions reliably and beautifully for years to come.